How to Customize your Transactional Emails using WooCommerce Email Customizer?


Introduction
When it comes to improving customer engagement on your online store, personalized transactional emails are indeed a great way to do so! Personalizing transactional emails helps to build emotional relationships with your fellow customers.
But, why put in so much effort to personalize your emails?
When you add a touch of personalization to all of your transactional emails, you are actually providing a sense of belonging to your customers, that is, making them feel special and loved! And, when you do that, you can bring about massive conversions in a short period of time.
The Email Customizer for WooCommerce plugin by ThemeHigh lets you customize your WooCommerce transactional emails using Visual template editor. Using this drag and drop builder, you can display your emails in different styles and layouts, with images.
You can include basic elements like text, images, and more in your template. Also, you can add created GIF elements for your WooCommerce emails and make your transactional emails even more impressive. Never miss out on a single element related to your order in the emails.
Also, if you are an eCommerce store owner, there are various security threats that you should be concerned about.
How to Customize your Transactional Emails
To begin with, install and activate the plugin into your WooCommerce store. From the Dashboard, navigate to the Email Customizer menu and then go to Add New option.
Let’s have a look at how you can easily create a new email template using the WooCommerce Email Customizer plugin.
Start off by adding an appropriate name for your email template, say Thank-You Mail.
Now, keep adding elements one by one to your email.
There are 3 elements:
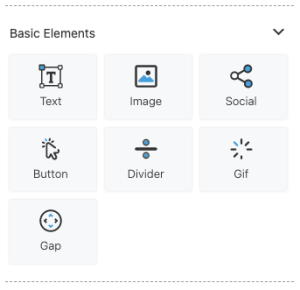
- Basic Elements: Text, Image, Social Share buttons, Divider, Gap, Button, GIF.
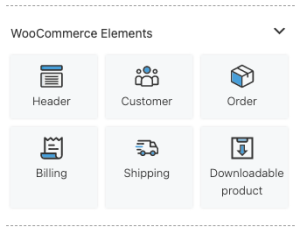
- Woocommerce Elements: Email Header, Billing Details, Shipping Details, Order Details Table, Customer Details, Downloadable Product link.
3. WooCommerce Hooks: Email Header, Email Order Details, Before Order Table, After Order Table, Order Meta, Customer Details, Email Footer, Custom Hook.

As a first step, we need to add the row and specify the number of columns in it.

Here, we start with the image element. So, we add a single column, upload the required image, adjust the image size, height, and alignment from the Image Properties tab.

From the Image Border properties, we can set the properties like Border Width, Border Style, and Border Color.

The padding of the elements, columns, and rows needs to be changed so that the position of each element can be adjusted. This can be done from the Additional Properties tab.
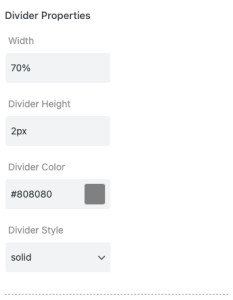
The divider element can be also added to your template from the basic elements. The properties like Width, Divider Height, Divider Color, Divider Style can be adjusted from the Divider properties tab.
After adding the text element, the content is added.
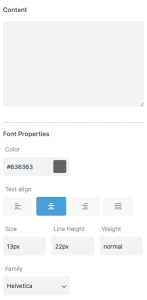
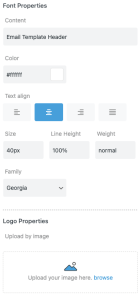
The properties like Font Color, Text Align, Font Style are added from the Font Properties tab.

For all of the elements, you can add a background image to the WooCommerce email and define its size, position, and how many times the image should repeat.
Like other elements, you can add the gif element to your email template and adjust its properties as per your preference.

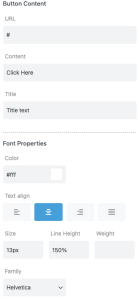
Add button elements to increase the store visits using your email. Options are available to customize the button elements.
In the same way, elements like Billing and Shipping details are added.

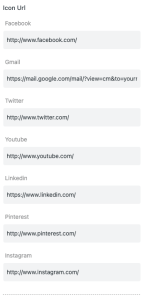
You can include the necessary Social Media icons to the email template and also customize them.
Once you are done with adding elements to your email, add an appropriate footer for the template. Also, don’t forget to include your site name and site URL using the placeholders.
And, you’re done!
Let’s Sum Up
So, customizing an email template always has its benefit on your business. With the email customizer plugin, you can create or customize a template in a way that your audience may like and easily catch their attention to the email content.
Also, use the feature of the plugin to add various elements to the template like images, gifs, social icons, and make your email template feel more alive to the users. Sometimes, adding these types of multimedia to your email template may create a huge impact on the audience and makes them engage with your content.


